MENU


Same guardrails, three integrations — pick the one that matches where your users already are.
A delegation is simple: it tells an agent it can spend up to $100, for one week, and not a cent more. The hard part was never the rule — it was getting that rule in front of your users. Nevermined ships three ways to do exactly that.
An agent that can pay is only useful if it can’t overpay. The moment you let software hold a payment method, you need an answer to one question: how much is it allowed to spend before it has to come back and ask? A delegation is that answer, written down and enforced. Where you create it is up to you.
A delegation is a scoped spending authorization tied to a payment method — a credit or debit card (through Stripe, Braintree, or Visa) or a crypto wallet holding stablecoins. It is the same object either way, and it carries the same controls:
The agent never touches the card number or the wallet keys. It gets permission to spend inside the box you drew, and nothing else. Every charge is checked server-side against the cap, the clock, and the transaction count — cross any line and the delegation is spent. Revoke it by hand and it stops on the next request, no waiting period.
We covered why this matters in Card Delegation for AI Agents. This post is about the how — and specifically, the three ways to put a delegation in a user’s hands.
The fastest path, and the natural fit when your users are already part of the Nevermined community.
A user signs in at nevermined.app and opens Payment Methods — the dashboard for every card they’ve enrolled and every active delegation. They click + Enroll card, pick a provider (Stripe, Braintree, or Visa), and the card is tokenized in a PCI-compliant iframe — Nevermined never stores the raw number. Then + Create delegation: set a spending limit and a duration, optionally add a transaction cap or scope it to one API key, and confirm. Cards and delegations are revoked from the same screen.
That’s the whole flow. No code, nothing to deploy.
Best for: individuals, power users, and internal teams who want to authorize an agent today without building anything. It’s also the quickest way to see the model end to end before you decide how to integrate it.
When the thing creating the delegation runs outside a browser — an autonomous agent, a backend, a script — it talks to the API directly. With a Nevermined API key, one call creates a delegation against the caller’s own account:
POST /api/v1/delegation/create
Authorization: Bearer <NVM_API_KEY>
No organization required: the delegation belongs to whoever holds the key. That’s precisely what an autonomous agent needs when it buys on a user’s behalf — it provisions its own guardrail before it spends a cent.
For developers driving the flow by hand, the Payments CLI ships an interactive version. nvm cards setup opens a chromeless browser page to enroll a card and create a delegation in one session, then hands both IDs back to your terminal — the same UX as nvm login:
nvm cards setup          # enroll a card + create a delegation, returns both IDs
# flags: --provider stripe|braintree|visa  ·  --org <id>  ·  --no-browser
The CLI flow is scoped to a Nevermined organization; autonomous agents with no org use the API call above.
Best for: autonomous agents buying on a user’s behalf, backends provisioning guardrails programmatically, and operators who’d rather run one command than wire up a browser flow.
If your users are already on your website or dashboard, keep them there. Embedded widgets drop a Nevermined-hosted iframe straight into your page, so users enroll a card and create a delegation without ever leaving your domain.
The integration has two halves. Your server mints a short-lived session with your organization’s widget key — the secret never leaves your backend; Nevermined only ever stores its hash. The browser SDK then takes that session and mounts the widget:
nvm.delegations.createDelegation()You react to the events the widget emits — nvm:success, nvm:error — and the rest is handled for you: authentication, tokenization, and the delegation itself, all against the Nevermined backend, all under your branding.
This is the one path that requires an active Nevermined organization, because the widget key is what scopes every session to your users.
Want to see it before you build? The Widgets Sandbox Builder lets you plug in your org credentials, preview the checkout, enrollment, and delegation widgets, resize them, and copy the exact server and client code to drop into your app.
Best for: merchants and SaaS platforms that sell agent access and want enrollment to feel native — same domain, same brand, no redirect.
All three write to the same backend and produce the same delegation, with the same guardrails. What differs is where your user finishes and how much you build:
nvm cards setup CLI flow is org-scoped) · best for agents, backends, and operators.A quick rule of thumb:
There’s no lock-in between them. Start in the app today, move to the API when you automate, add a widget when you productize — nothing to migrate, because it’s the same delegation underneath.
Handing an agent a raw payment method makes the answer to “how much can it spend?” equal to “everything.” A delegation makes the answer exact: a cap, a clock, and an off switch. Whether your users live in our app, behind your CLI, or on your own site, there’s a path to put that control in their hands.
Pick the one that fits — and let your agents spend like they’re supposed to: exactly as much as you said, and not a cent more.
Start in the app at nevermined.app, or read the Card Delegation guide to wire it into your product.
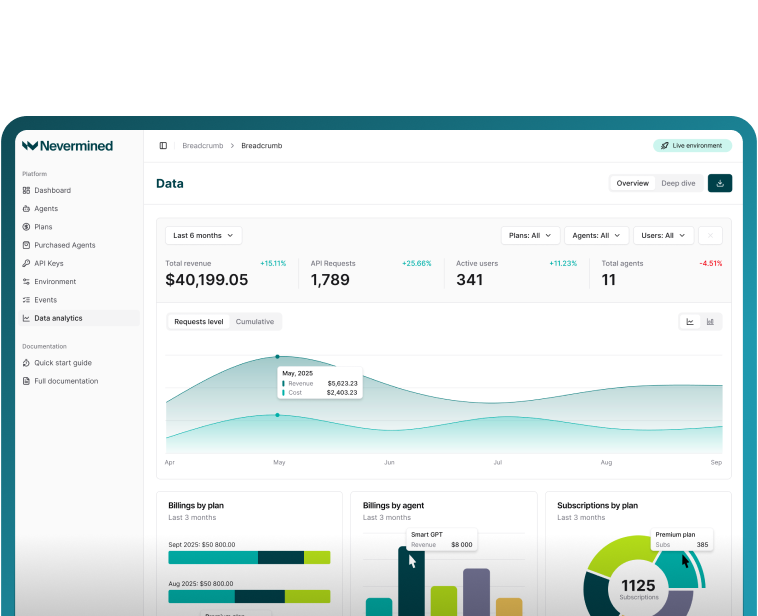
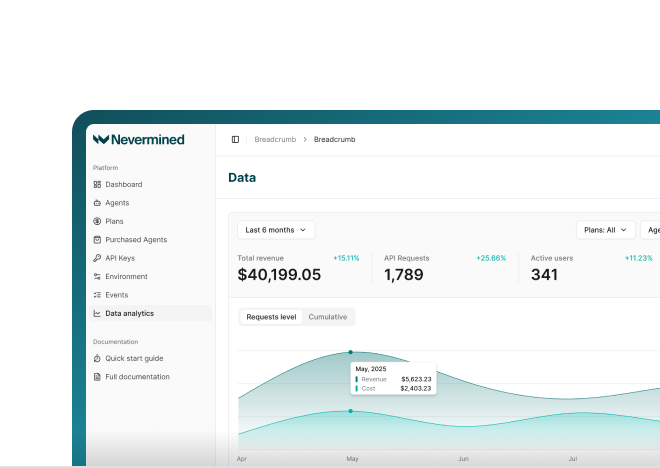
See Nevermined
in Action
Real-time payments, flexible pricing, and outcome-based monetization—all in one platform.